This tutorial is meant for someone who has perhaps already made a coat, but wants to make one with period techniques. I do love comments and questions, so if you are a beginner and need help, don’t be afraid to ask!
I’m also expecting you to be good friends with your steam iron, and you to use it after every step! It not only sets your stitches, but helps give you a professional result.
This coat was made with wool outer, silk lining, horsehair and batting (probably poly:( but I’m pretending it was wool:). I used linen thread throughout, waxed of course!
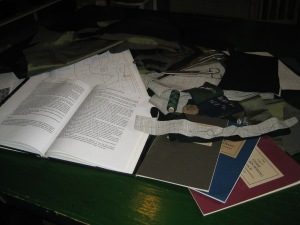
Step 1. Look at lots of books. Put away the books that are not helpful. The ones I stuck with for this coat are: The Cut of Men’s Clothes 1600-1900, By Norah Waugh – I used pages 86-92 for construction information. Page 84 was especially helpful for buckram and padding placement, even though the coat was a little earlier style then the one I made. I used page 93 to help guide me in making the pattern. Book number 2: Costume Close-Up, Clothing Construction and Pattern 1750-1790, By Linda Baumgarten and Johns Watson with Florine Carr. I used item 17 to help me with construction details and cutting out, Pages 80-89. I also like to keep The Lady’s Guide to Plain Sewing Books 1 and 2, and The Workman’s Guide to Tailoring Stitches and Techniques handy. They are available from Kannik’s Korner. I use them frequently to remind myself of certain stitches or techniques.
Step 2. Pick material and cut it out. I used a pattern for the base, then altered it using the diagrams. I wanted the coat to be circa 1770, but made for a gentleman who preferred the older styles, so a toned down version of a 1750 or 1760’s coat.
Step 3. Start construction! I started with the collar. 
 I cut out a piece in wool, a piece in silk and a piece in horsehair. The horsehair was trimmed to be about 1/4 inch smaller then the other pieces. I folded the wool up over it and stitched it to the horsehair. The silk then had the edges turned under and I stitched it to the wool. The silk was turned under to be smaller then the wool, so that it does not show on the outside. It tells you to use buckram for a lot of the support pieces, but I only had the kind I use to make hats, so I used horsehair instead.
Step 4. Add reinforcements.
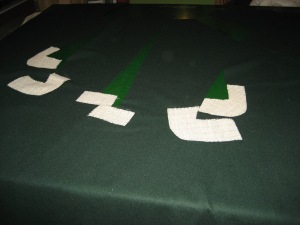
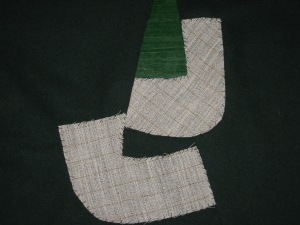
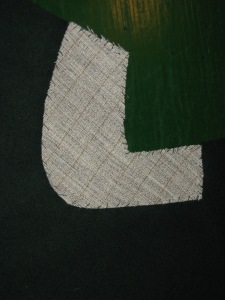
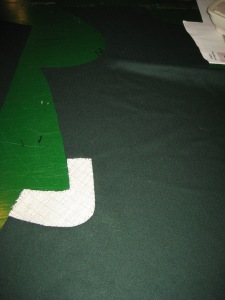
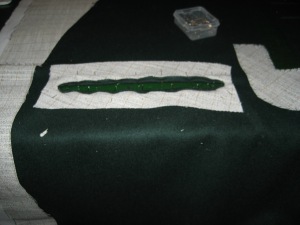
In CMC (Cut of Men’s Clothes) it says to add a horseshoe shaped piece of Droit-fil (band of strong linen used for strengthening) to the tops of the side pleats. Lacking Droit-fil, I used horsehair. It is very carefully caught to the wool, trying not to let the stitches go all the way through to the other side.
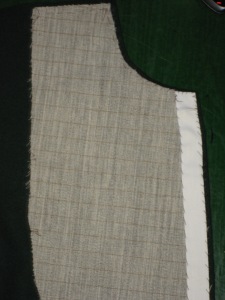
Step 5. Add (buckram) horsehair to fronts.
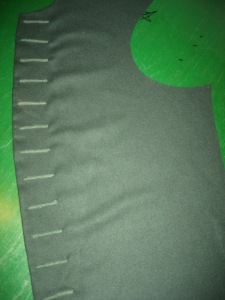
In CMC is instructs you to tack to the reverse side, from top to bottom along the edges, 4 inches wide at the shoulders, widening to within 2 inches of the armhole, then narrowing to the seventh or eighth buttonhole where it continues straight to the bottom. I decided to fold the edge up over the horsehair, as I had done for the collar, because I couldn’t figure out how you finished that edge if you just tacked it down. Do this for the shoulder and the neck edge, as well as the front edge. Do this to both fronts (make sure you have opposites though!).
Step 6. Buttonholes.
CMC says to mark the buttonholes, 2 or 2.5 inches long and 2 inches apart. Work the buttonholes. My favorite part! Very time consuming, but worth it. Buttonholes belong on the left side.
There are 12 buttonholes.
Step 7. Reinforce behind the buttonholes.
CMC – a second piece of (buckram) horsehair is added the same size as the first, but only the length of the seventh or eighth buttonhole. Add the reinforcement to both fronts.
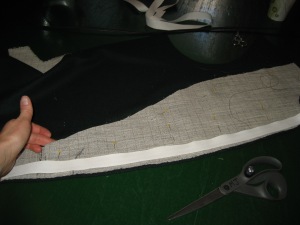
Step 8. Add droit-fil strip to the edge.
Again you are supposed to use droit-fil, but I used twill tape for this one. You place it along the edge, pleating it to shape where the chest is rounded. You are supposed to whip-stitch all this to the edge of the coat, but again, I couldn’t figure out how that edge was finished with all that bulk, so I carefully stitched it to the wool where it was turned over on top of the horsehair. Do this to both fronts.
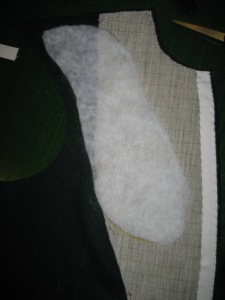
Step 9. Add padding.
You add the padding to help fill out the hollow which goes from the chest to the collar bone. I used batting, because that is what I had. It said to use cotton wool. Make sure you do this to both fronts, or you will have a lopsided coat!
Step 10. Pockets!!
I started with the pocket flaps. I like to have them done first, because it seems like once you have the pocket holes in, it takes forever if the flaps aren’t ready. Same method as the collar, except I used wool for the front and the back.

For the actual pocket part I did it a little differently then I normally do.
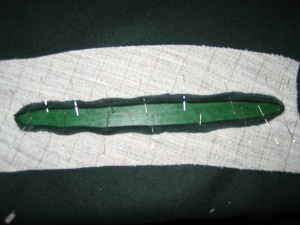
In Costume Close-Up it tells you that the pocket openings have interfacing around them, and to set them in you slash the fabric, then fold the edges back over the slash and stitch them down. You reinforce the ends of the slashes with buttonhole stitches. I only stitched to the horsehair, not through the fabric, except at the ends for the buttonhole stitch.
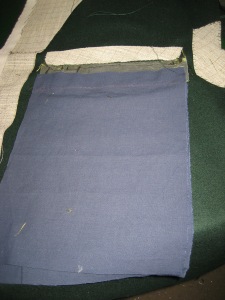
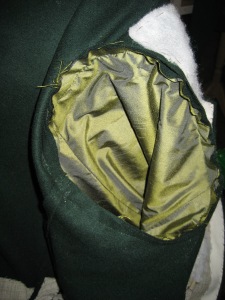
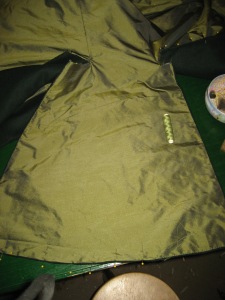
For the particular coat in Costume Close-Up that I was somewhat following, it tells you that the top part of the pocket part was of silk, so that when the pocket flap was up, that was all you see. This is what the pocket bag looks like. I then carefully stitched it in behind the opening, along the edge. You just have to make sure that the seam line for the silk is facing into the coat, not towards the pocket opening, and that the silk is sewn to the top part of the pocket opening, not the bottom. Then sew the sides of the pocket up.
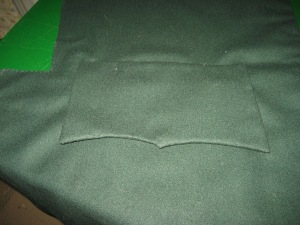
With the pocket flaps on. I just carefully did tiny whip stitches to attach the flaps.
This is looking down into the pocket.
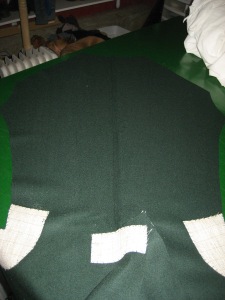
Both fronts, all prepped!
Step 11. Stitch the backs together, sew the fronts to the backs and sew the shoulder seams.
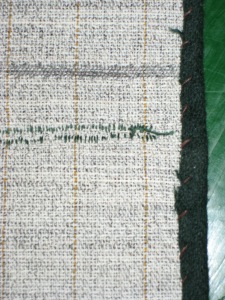
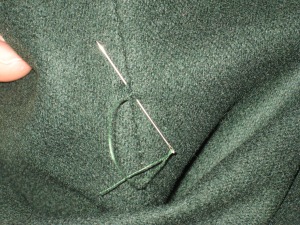
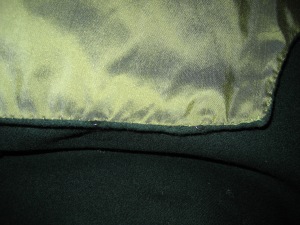
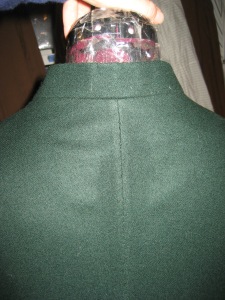
CMC tells you to backstitch it up from the skirt openings up, then to fine-draw it from the outside. I had to do a little research to find out what fine-drawing is, but basically what it comes down to is to sew together so finely that the join was not noticeable. I found exactly what the stitch looks like, but I didn’t write down my source:( In the picture above you can see what it looks like though. It is a tiny straight stitch that angles up between stitches.
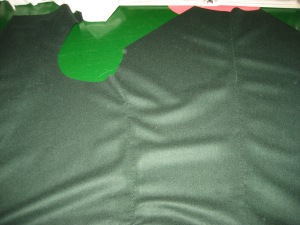
Here the backs and sides are backstitched and fine-drawn.
And here the shoulders are backstitched and fine-drawn. When you set the shoulders together, make sure you leave the back neck just a little bit longer, so that you can fold the wool over the back neck edging. The collar is only pinned on here. I added it at the end.
Step 12. Neck edging
Cut a piece of horsehair that will fit the center back neckline and go just under the shoulder seams. Stitch it down at the neckline, with the wool going over the top, just like the fronts. Stitch it at the shoulders, only to the seam allowance.
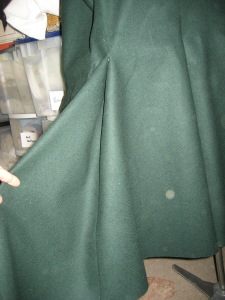
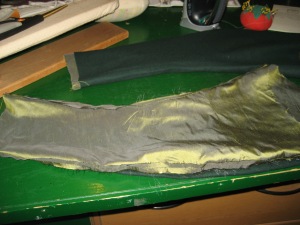
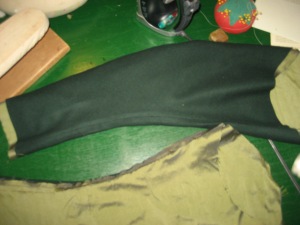
Step 13. Don’t sew the skirts together, or you will have to take them back apart like I did!
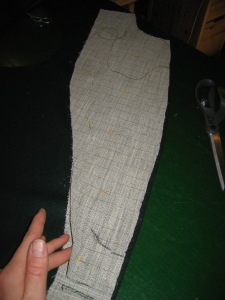
Pictures of what not to do!
Step 14. Prepare the sleeves.
Sew the sleeves together. Sew the sleeve linings together. Set them together, make sure the seam allowances face each other. In CC-U it said that 1/2″ of the lining extended past the edge of the outer fabric, and was folded up to the outside and stitched.
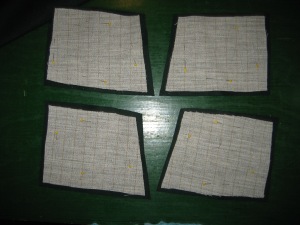
The cuffs are sewn next (or first), and I just did the fold the wool over the horsehair and stitch it down, then the add the silk turn under the edges and stitch it down thing. Then I whip stitched the sides together.
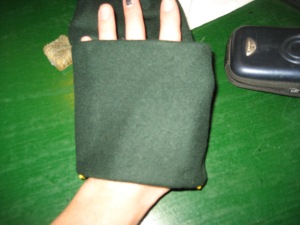
The cuff sits just a little lower then the edge of the sleeve. The silk lining of the sleeve is stitched to the wool of the cuff.
This is what the inside of the cuff attachment looks like. You can tack the top of the cuff down at the side seams if you like.
Step 15. Set in the sleeves.
The sleeves are backstitched on for security. The armhole mess will be covered up when the lining is set in.
Step 16. Admire all your hard work and the amount of handstitching!!
Step 17. Set in the lining.
I backstitched the back seam, the side seams and the shoulder seams. I also set my two hooks and eyes to the wool so they peek out, then I set in the lining.
I pinned everything very carefully (which says something, since I normally don’t pin anything!). The silk got turned under on all the edges, including around the skirts and the neck. Then stitch it to the wool using small even stitches. Try to catch the the wool under the lining and just have a tiny bit of the stitch catch the edge of the lining, and it won’t show very much.
Fold under the body lining and stitch it over the armhole mess, to the sleeve lining, just over the seam.
Step 18. Sew on the collar.
I put the collar and coat right sides together and whipped stitched them.
Step 19. Sew pleats into pleats!
Fold the pleats pleasingly, and stitch them down at the top, catching only the lining, and the seam allowance.
On my coat I folded the side pleats towards the center, then tacked them along the edges in a few spots to keep them closed. The center back is a box pleat, and it is left open.
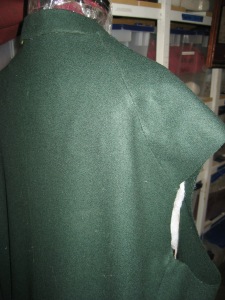
All pleated, from the back.
Step 20. Buttons
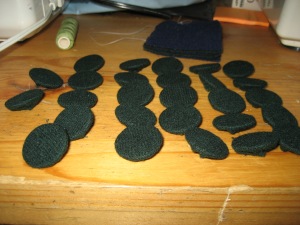
Make a whole lot of covered buttons. I used washers to make my buttons. 12 for the front, 3 for each cuff and pocket flap, and 2 for the tops of the back vents. So….26 total. Have fun! Sew them on. Have some more fun!
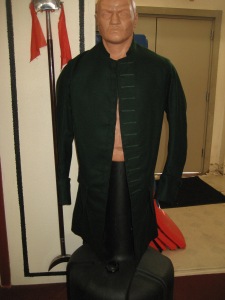
Step 21. Find a better model then I did and take some pictures!!
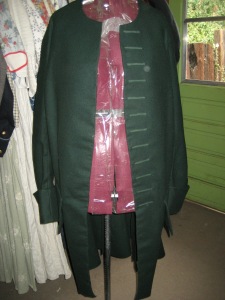
My camera died after this picture, and I had to give it to Jim that day. I will catch him in it and take some good pictures, then update the tutorial.






















Hi Mary
Thank you for your tutorial! I have started an early 18th century justaucorps for my husband and its been a challenge to find help with using the horsehair cloth.
I am new to 17th century, I havnt sewn in 15yrs and this will be my first hand bound jacket.
I see yours is a later jacket that the skirts and pleats weren’t typically interlined.
This is where I initially was confused about interlining an early jacket. When looking at CMC diagram I was seeing the skirt and pleats as one and with using HH cloth in mind I knew with the big skirts that at some point the HH intended support would change. I contacted a supplier and they said only use it in the skirt area, that the pleats should remain soft.
As I keep re-reading I understand that only buckram was used in the skirt/pleat area.
Can you confirm or clarify this for me? At times I need to keep reading multiple times and gather information before things make sense to me. I process slowly.
I am using ribbed silk as the fashion fabric, I plan to flatline it with something… Lined with silk. I will be using horsehair cloth and not quite sure about what to use in the skirt /pleats.
Any suggestions would be greatly appreciated!
Elizabeth
Hi Elizabeth,
I have no idea about the early jackets, or skirt linings. I made one (same era as tutorial) out of a figured silk, and lined it with taffeta, with no inner lining and it seems to be doing fine. I think you need the most support where it is pleated, not in the skirts themselves. I’m not positive about the earlier era though. I think if you flat lined it with something like a cotton organdy it would give you the support you need. Cotton organdy is thin, but stiff. Since your coat is silk, and won’t be washed, the crispness of the organdy will stay. Organdy tends to get a little limp when wet, but crisps back up when ironed. I hope this helps, and if you have any more questions, please ask!! *Mary*
Thank you Mary! I was thinking of interlining with organdy or sheeting. I used sheeting in my Victorian costumes.
I’ll let you know how it goes. I appreciate your input and time
E
I look forward to seeing it!!
If you have time….. I made up a muslin from the JP Ryan military coat. The 42 was tight over a shirt! He is a tall thin man.
I had him pull back his shoulders which was better but still tight and realistically I have to adjust this so he can wear it for 8 hours at fair.
My question is can you suggest where I start to adjust the muslin? It looks like it would be in the back.
And armholes. Yet the front chest area does not close to about the diaphragm then a good 2“ allowance to the bottom.
I plan on drawing up a block for home and lay out the pattern. This area of fitting is my weakness
Hi Elizabeth, coat fitting can be tricky. I find that most coat patterns are cut too far off the shoulder at the armhole, so pay attention to that. The armhole seam should be about where the shoulder joint is. You can look at period artwork to help you better figure out where exactly that sleeve seam should be. That often helps with tightness on the armsye. For the front, it should only meet at the top, and the general style is sort of cutaway. I hope this helps, holler again if anything isn’t making sense!
I would also undo the shoulder seam, and pin it, and then readjust if from there. Keep the placement of the seam, but it should help you know if you need to add a bit there, the front might need to add a tiny bit, or the seam allowance might vary across that seam to get it to fit properly.
I realize this pattern was meant for an erect posture but “it ain’t gonna happen” lol
You replied to this comment.
Hi Alyssa, I don’t currently have a tutorial for that, and I have nothing handy at home, but I’ll be in the shop Monday, and I’ll try my hardest to remember to take pictures and get something posted for you!!
Really enjoyed this blog post with your excellent information. Can you explain more (or point me to a resource that does) about how the pleats are handled on the coat? Thank you!
Hi Andre, it appears I need to update the pleats section, that’s alwats what I get asked about!!! The pleats get pleated and then sewn down at the top of the pleats to the lining. The top edge of the pleats themselves stays raw. I don’t have access to a coat right now (I’m snowed out of my workshop!), but I will try to remember to get some pictures up for you soon!
Thanks for sharing this tutorial. I really enjoyed it as I am getting ready to make 18th century clothing for myself and my husband, Nina
I am confused about step number 7. How can you add more horsehair behind the buttonholes when you have already worked them? Are they non-functional?
Correct. The buttonholes are non-functional. The coat closes with hooks over the chest. It is meant to curve away from the body over the lower chest and belly so can’t really button anyway.